Open the app and tap +
The plus icon is in the top-right corner of the home screen.
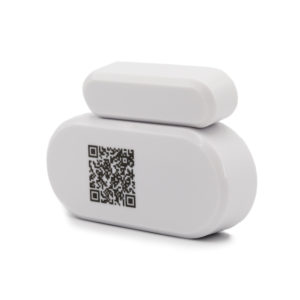
Scan the QR code
The QR code is on the back of your Sentry-1. Use the in-app scanner — the sensor pairs automatically.
Follow the on-screen prompts
The app walks through Bluetooth pairing, first-reading verification, and initial calibration.
Name your Sentry-1 and add a photo
Give it a descriptive name (e.g. "Wine Cellar" or "Freezer 2") and optionally attach a photo of the location. Saves instantly.
View your first measurements
The sensor dashboard shows live temperature, humidity, and any other supported parameters. Readings refresh per your polling interval.
Create an iMatrix Cloud account
Go to cloud.imatrixsys.com/registration and register — your sensors link automatically to any account using the same email as the app.
Open sensor settings
Select the cogwheel icon in the top-right corner of the sensor's dashboard tile.
Customize naming and location
Give each sensor a clear name tied to its physical location. Upload a photo if it helps the team identify it at a glance.
Select displayed parameters (Advanced view)
In Advanced view, choose which parameters appear on the dashboard tile and list view. Drag to reorder.
Tune sensor performance (optional)
Advanced view exposes Polling time (how often readings are taken), Sample time (how often readings are saved to flash), and Check-in time (how often data is uploaded). Default settings are optimized for battery life — only change if you need faster updates.
Add notification channels
Dashboard → Settings → Notifications and Reports. In the Channels section, add email, phone number, and SMS number.
Select which channels receive which alerts
You control the routing — critical alerts can go to SMS+email, info-level to email only. Note: real-time alerts require either the app running within Bluetooth range, or an iMatrix Wi-Fi Micro Gateway.
Set alarm thresholds per parameter
In Basic view, set Alarm High, Alarm Low, and Threshold in time for each parameter. Advanced view supports up to 6 alert levels per parameter.