Step 2
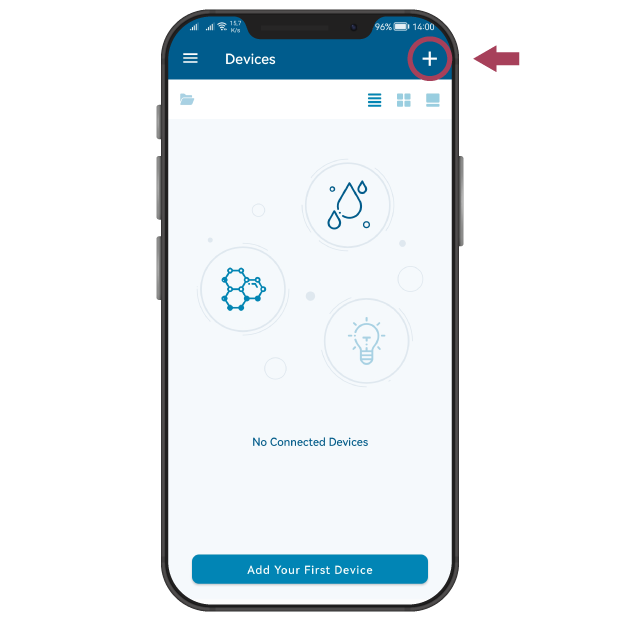
Open the app and click on the + icon in the top-right corner of the screen.
Step 3
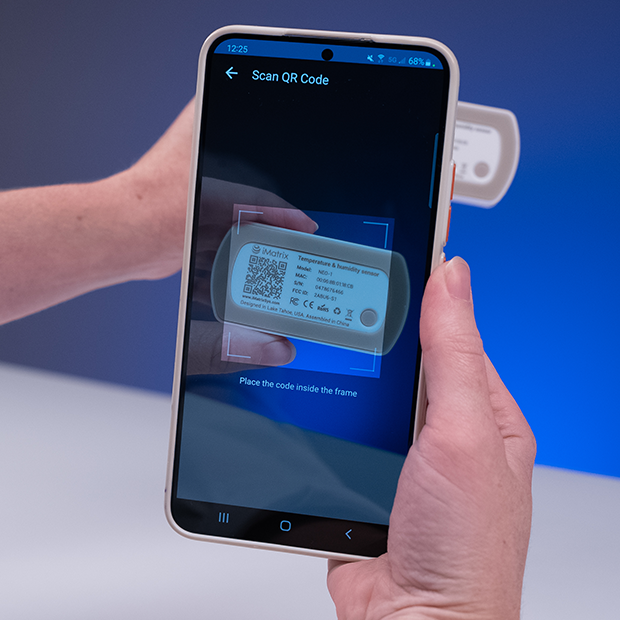
Scan QR code on the back side of your sensor.
Step 4
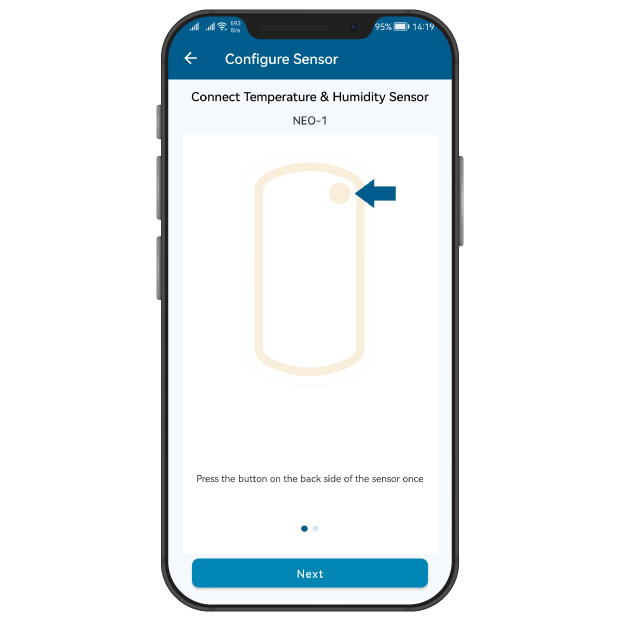
Follow instructions on the screen of your phone.
Step 5
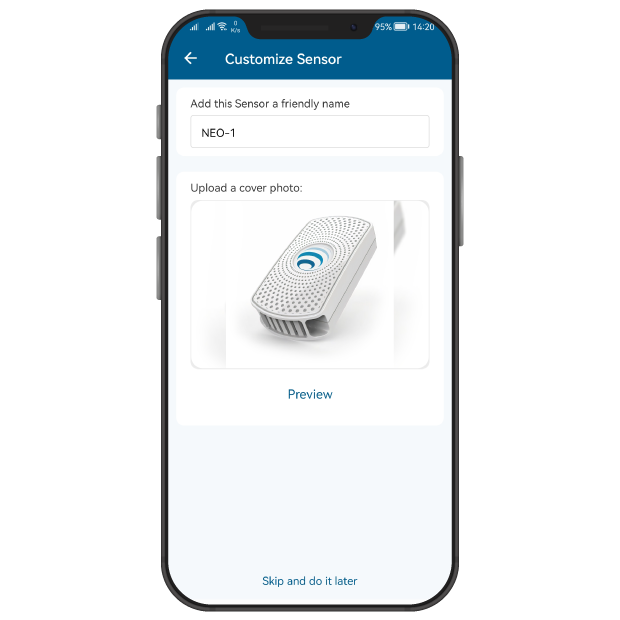
Give your NEO-1D a unique name and take a photo (optional).
Step 6
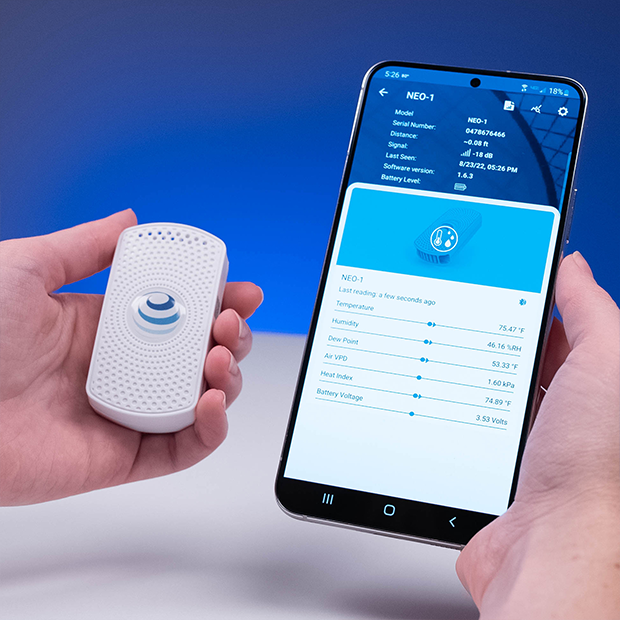
View your sensor measurements.
Get more From Your NEO-1 Sensor
With the Web Interface
Step 7
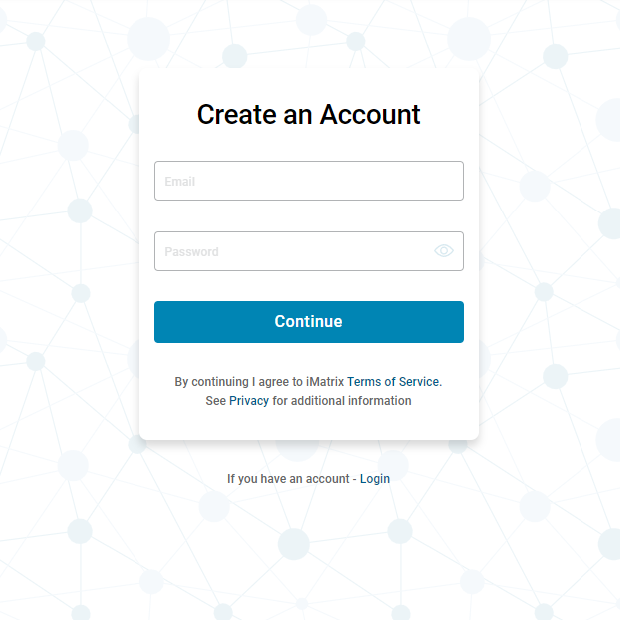
On your computer, go to https://cloud.imatrixsys.com/registration to create an account and store your data.
Step 8
Access NEO-1 Sensor settings interface by selecting the cogwheel icon in the top right corner of a sensor dashboard.

Step 9
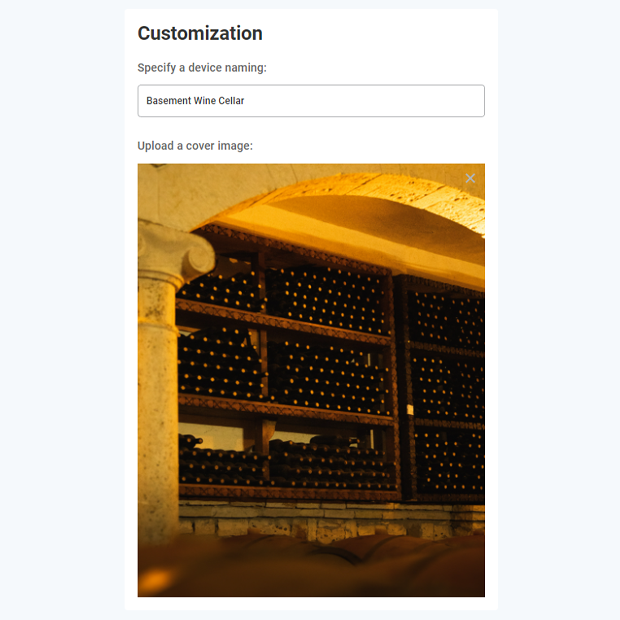
Customize your NEO-1. Give it a name, for example, “Wine Cellar” and upload a picture of that Location.
Advanced Settings
Access more settings by clicking “Advanced view”
Step 10
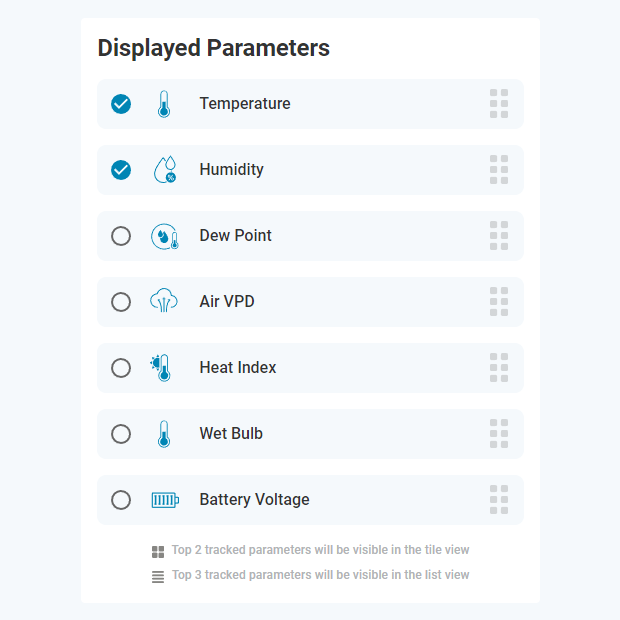
In ‘‘Advanced view’’ you can enable or disable Displayed Parameters by selecting and deselecting checkbox near each parameter. You can also change order of displayed parameters. To do this click and hold Drag icon ( ) and move the parameter up and down the list.
Step 11
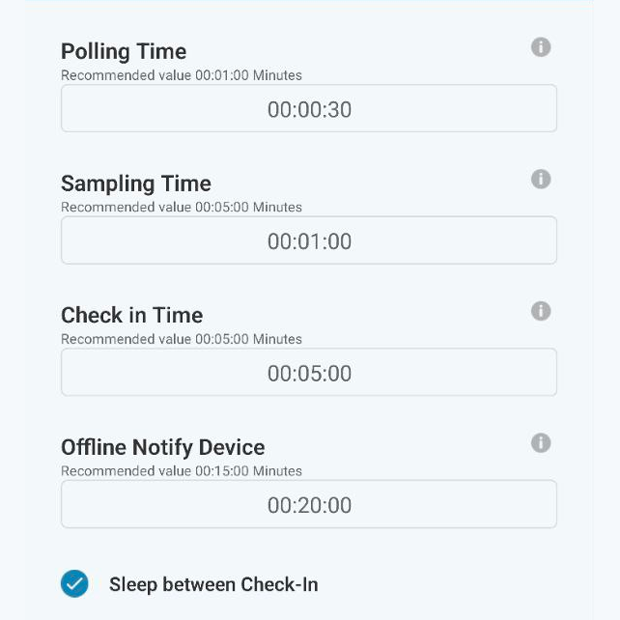
Sensor Performance can be customized In advanced view of sensor settings.
- Polling time is how often the Temperature and Humidity are read.
- Sample time is how often this data is saved on your device into onboard Flash memory.
- Check-In time is how often the sensor connects to your iMatrix Micro gateway or your Virtual gateway to upload data to the Cloud for graphing and storage.
- Sleep between Check-In will stop broadcasting BLE beacons
These settings affect the battery life. We recommend the default settings.
Notification Management
Step 12
To recieve notifications and alerts select Dashboard – Settings – Notifications and Reports.
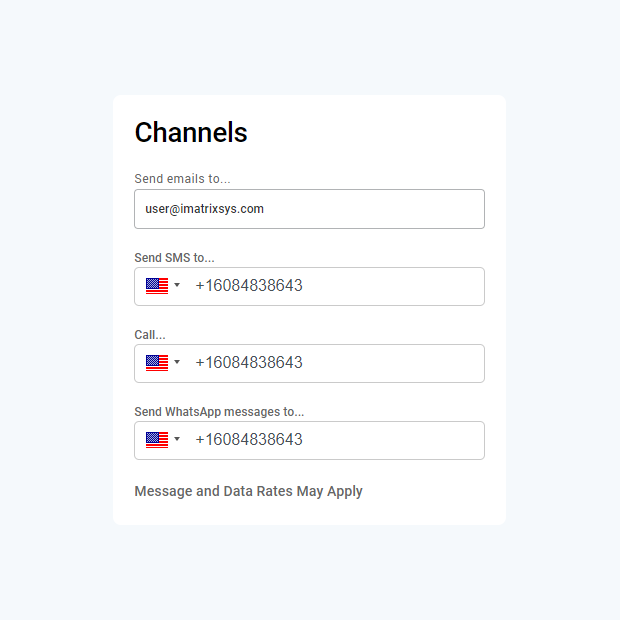
In “Channels” box add your e-mail, phone number and number for SMS messages to receive Alerts from your sensor.
Step 13
You can select to which channels you want to receive notifications about different types of events.
Note: To receive Alerts in real-time, you need to be within Bluetooth range with the App running or use an iMatrix Wi-Fi Micro Gateway.

Step 14
Select the sensor for which you want to set up an alert notification and click the cogwheel Icon in top right corner.
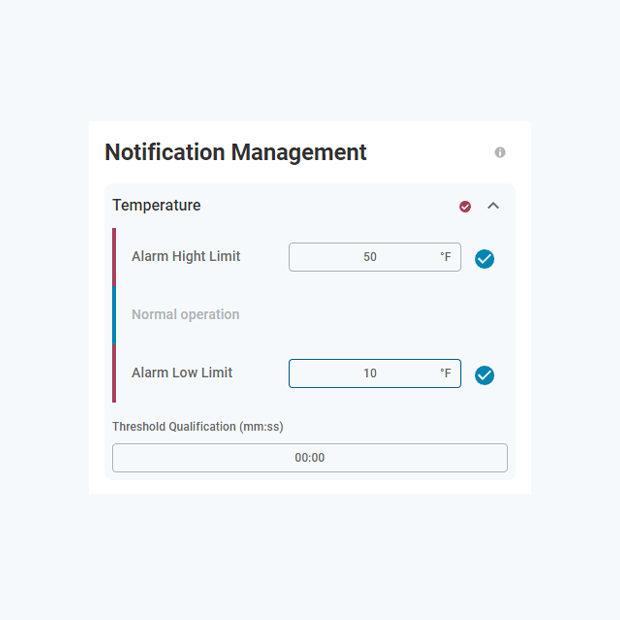
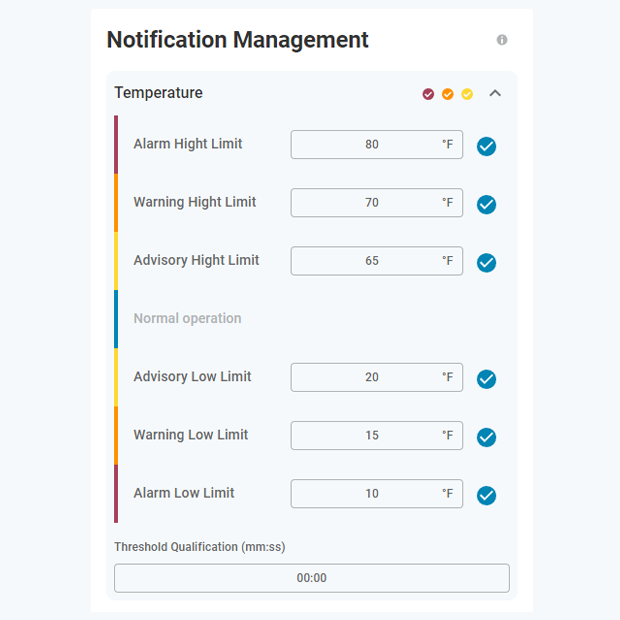
In the Basic view you can set your Alarm High and Alarm Low limits, and Threshold in time for each parameter separately. If you need more alert levels (up to 6) you can use Advanced view.
Pro Tips:
- To turn OFF your NEO-1 quickly press the button on the back of the unit twice within 2 seconds. If a proper press is detected, the front LED will blink red 3 times and then shut off.
- To turn ON your NEO-1 make a quick single button press. The green LED will blink 3 times, then blue LED will be blinking for 30 seconds and then stop blinking.
- For instant readings, force a wake-up by pressing the button once on the back of the NEO-1. This will wake the unit for 1 minute, and then it will default to your performance settings.
- You can replace the two AAA batteries by removing four screws on the bottom of the unit in the four corners underneath the brown plastic.
- For Freezer applications, use the NEO-1P, which has an external probe that monitors the temperature inside the freezer.
- You can organize multiple locations and group sensors by Location in the navigation window.
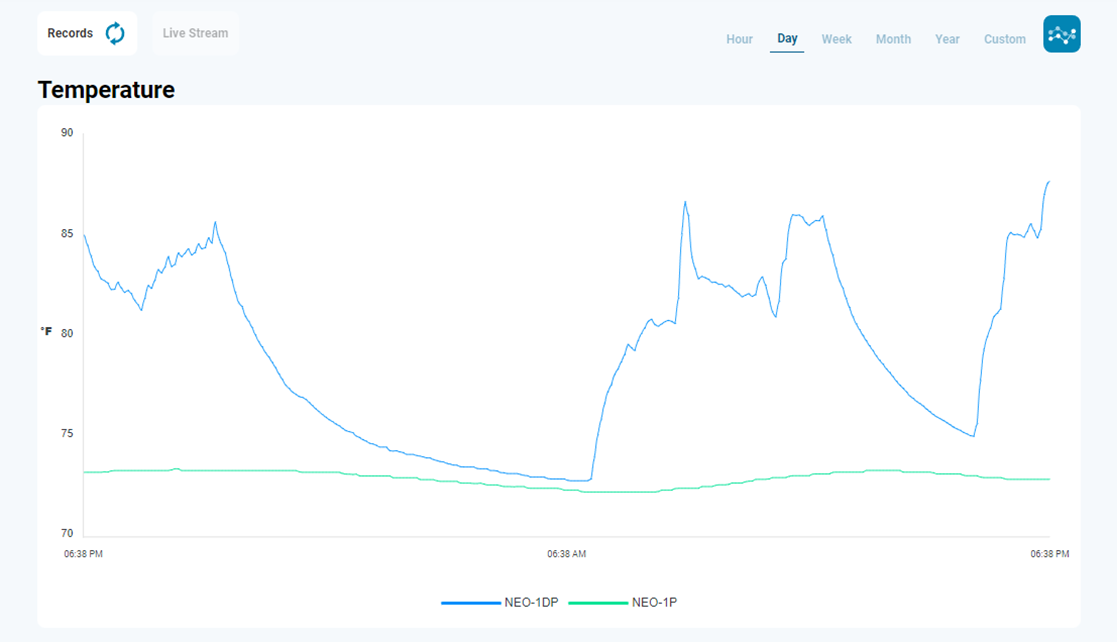
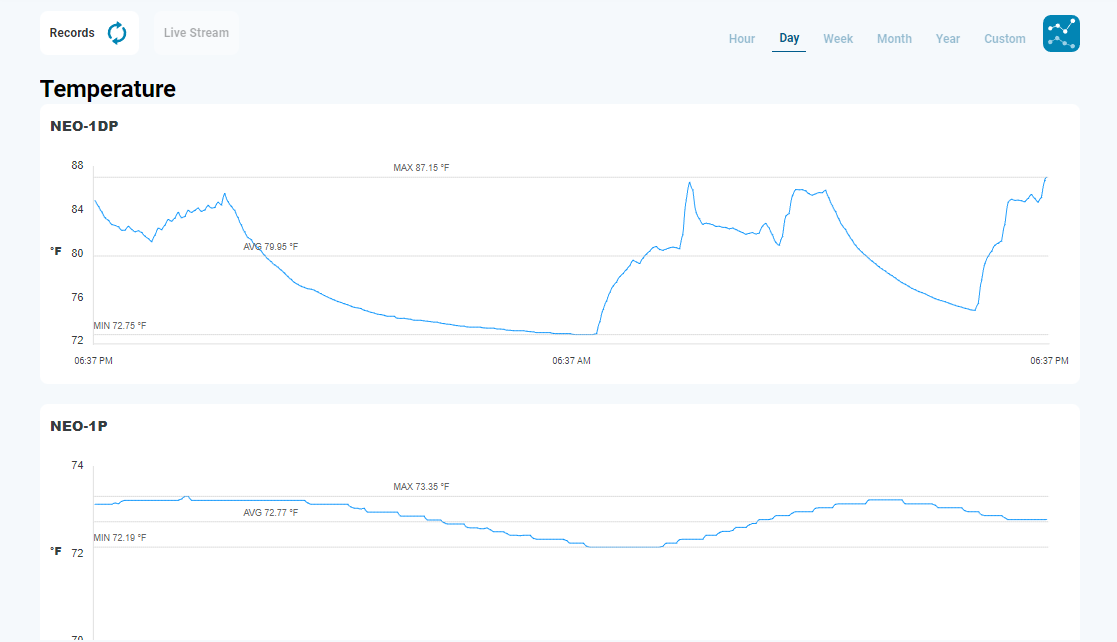
- Graph sensors over hours, days, weeks, months, and years and the ability to overlay multiple sensors on one graph.
- Each sensor can generate automatic reports.

Automate Monitoring Process
You can use “Virtual Gateway” function built in the iMatrix mobile app to upload data to the iMatrix Cloud.
Note:
- The App needs to be running and within Bluetooth range to connect to the device and upload the stored data.
- The virtual gateway will upload data based on check-in time, so it can take up to 10 minutes to check in the sensor data and upload it to your account for graphs.
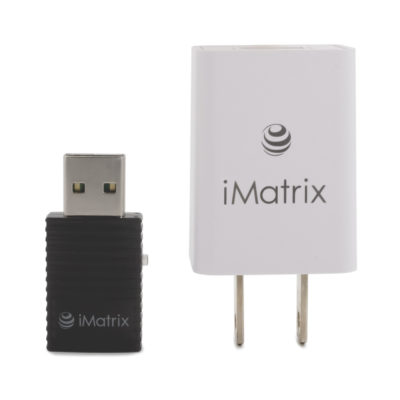
For better performance we recommend using iMatrix Wi-Fi Micro Gateways to scan all your sensors and upload the data over Wi-Fi to the Cloud automatically.
Note:
- Micro Gateway will automatically update your sensors with the iMatrix latest firmware.
- You can use multiple Micro Gatewas for a large facility to ensure wireless coverage.
- The sensor’s location, relative to your smartphone or Micro Gateway, is required for proper operation. Correct placement will ensure the signal is within range, and an RSSI greater than -89db is best.
